Can you tell it's the first week of school??? More about that later, for sure!!
But right now, I'm just breathing and getting ideas and breathing some more and trying to implement ideas and even more breathing…
…breathing is good!!! {coffee is, too!!!!}
But I digress…
Let's share some fun EMBROIDERED gifties for Christmas!!!
Embroidery is a very fun calming activity for me, especially after school starts. There are times where we just sit and wait for our kiddos…result? lots and lots of fun embroidered projects!!!
Here's my first idea for you:
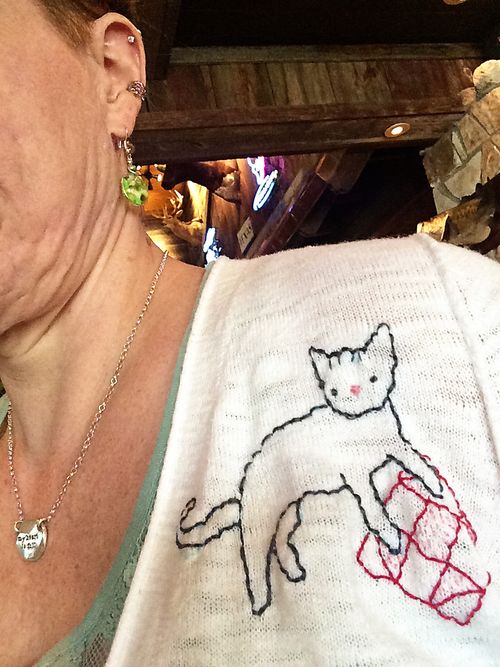
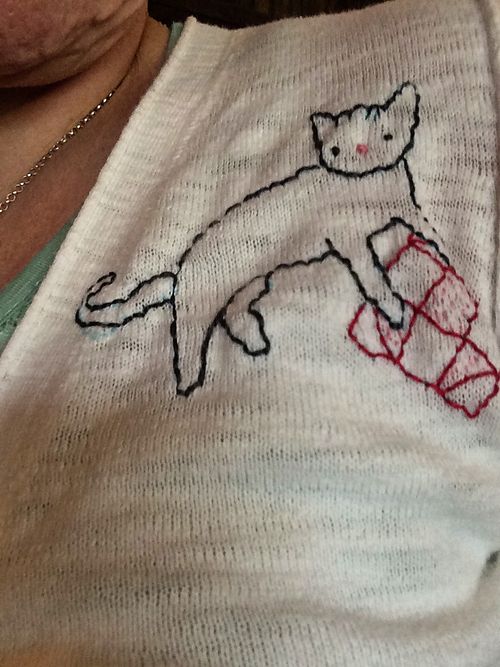
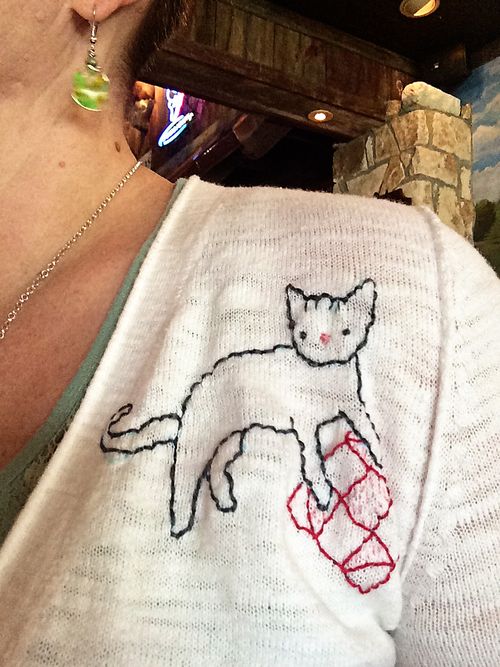
An embroidered sweater!!!
How cute is that??? A kitty on a quilt!!!
Here's how I did this:
I bought the "boyfriend sweater" at Target in white (because I'm totally addicted to white clothes…i don't know why!!!).
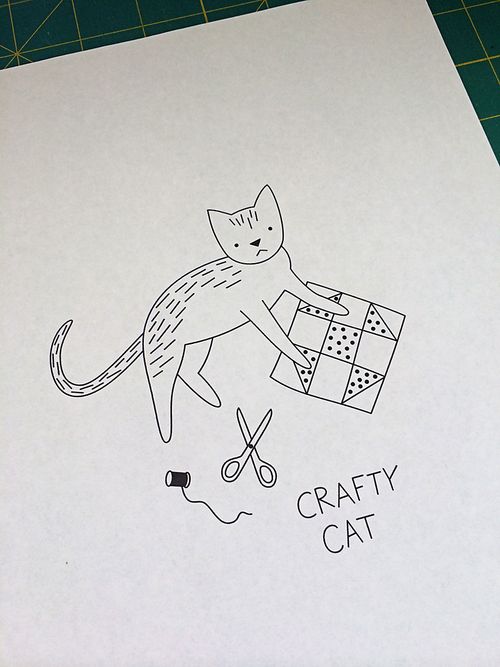
Then I bought this pattern…
…from Penguin and Fish! Crafty Cat! LOVE!!!!
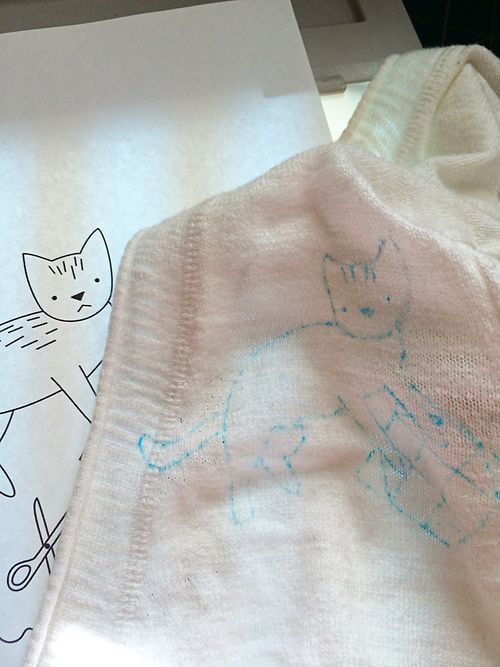
I put the sweater on and pinned where I thought would be the perfect kitty spot on the left lapel of the sweater. Then I got my light box out and centered the pin on the kitty…
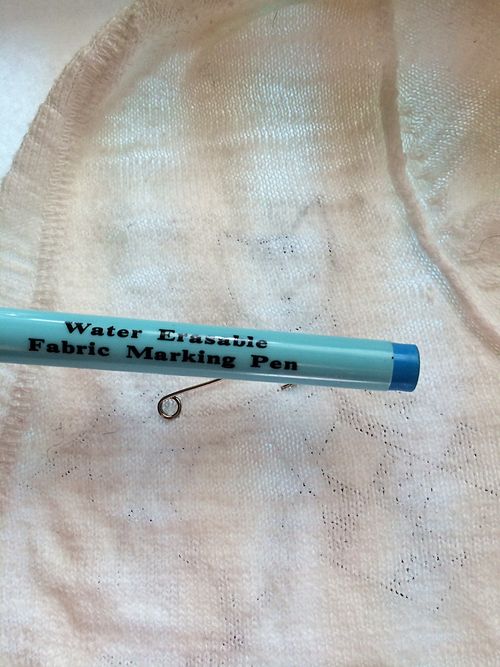
Using a water soluble erasable blue pen, I traced the kitty onto my sweater. I didn't trace everything from the pattern…
When dealing with knits, it's a bit of a challenge to trace and also to evenly stitch…
…but oh, so worth it!!!
Alyssa has fun stitching instructions on the pattern, too!
One of the beauties of embroidery is the freedom to do what you want!!
I adjusted the tail as I stitched. This is why that blue pen is so awesome!!! (You can barely see the blue under the tail…after spritzing water, that will be gone!)
And I now have a kitty sweater!!! yay!!!
Here's another idea that encompasses a few different ideas within it:
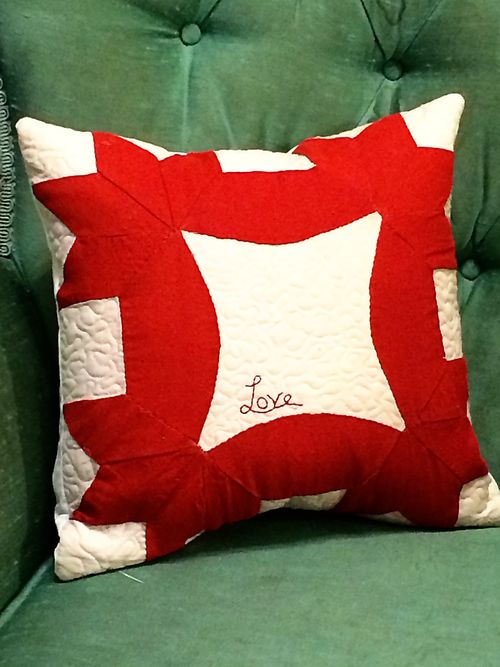
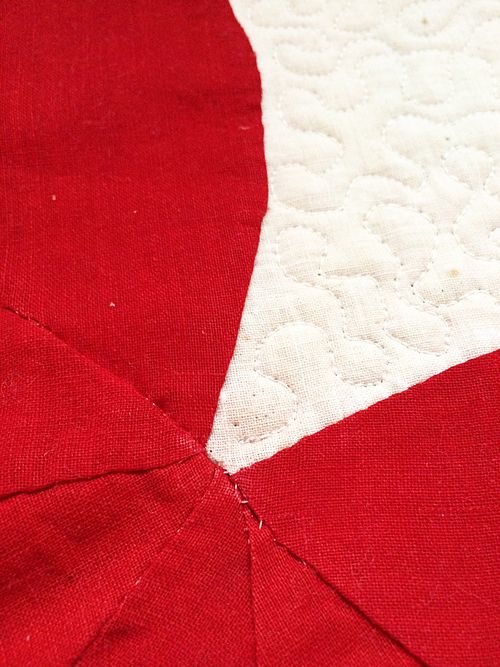
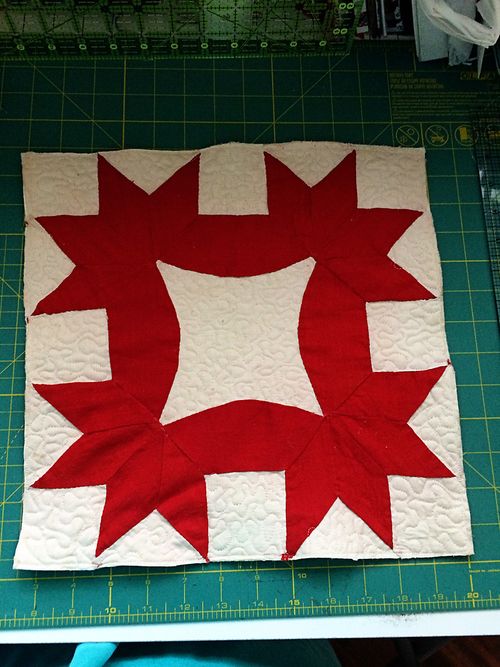
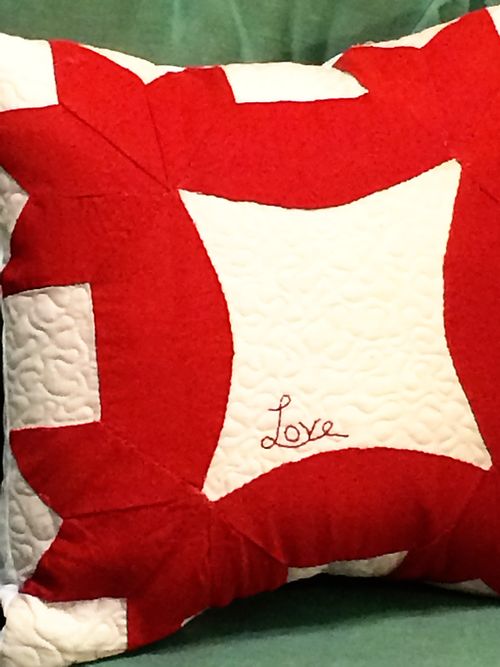
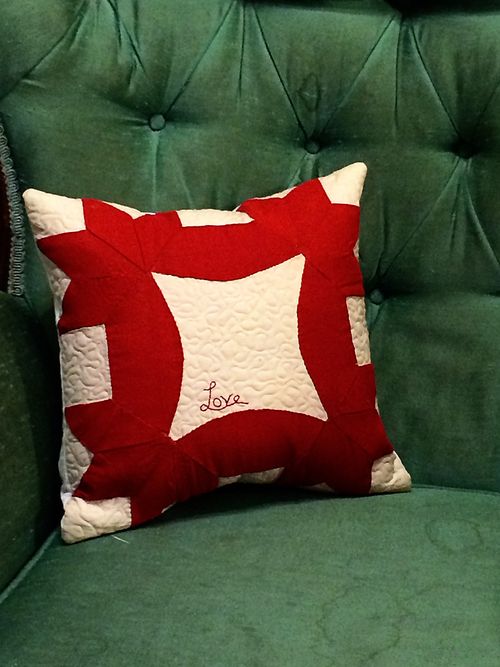
Using a vintage quilt block to make a throw pillow!!
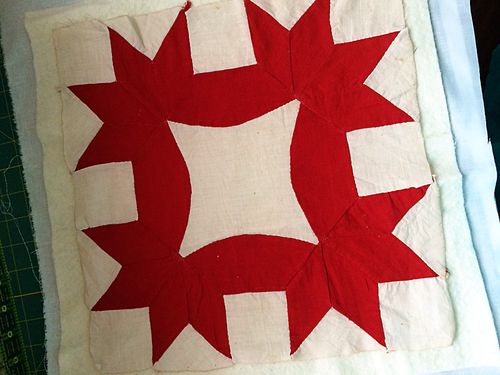
So, I found this vintage block at a stand at the Round Top Antiques Show. I kept trying to incorporate it in my Stash Bee Block Quilt, but it just didn't go!!! So, I decided to make a pillow!!
Here are my steps:
I soaked my block in Yuzu SOAK wash! (It smells soooooo dreamy!!! and cleans it all up!!!)
I made a quilt sandwich with batting and muslin backing and pinned.
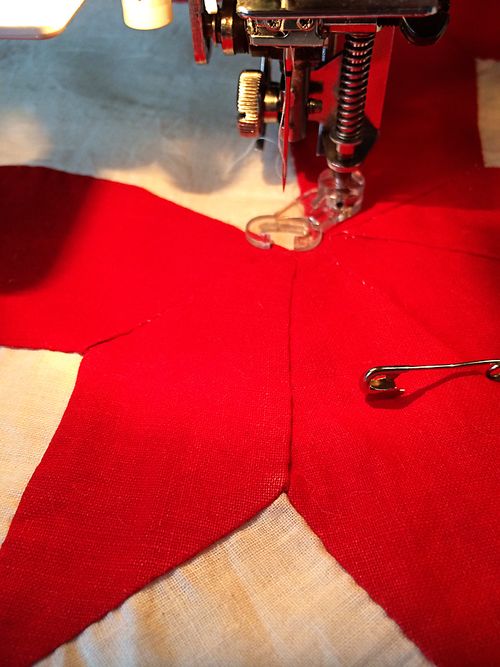
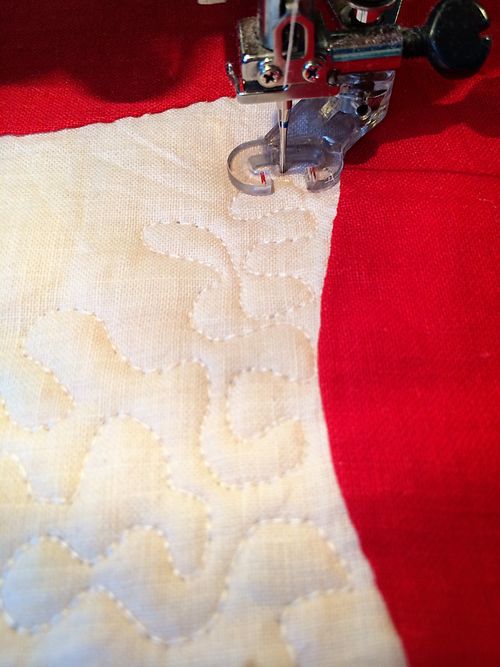
Starting near the center, I quilted with a very small meandering stitch avoiding the red handpieced portion of the block. (to be honest, I did sew on the red part twice, but I do believe only Jesus was perfect! #justbeingreal!!)
Love that meandering…
It doesn't have to be a vintage block…do you have orphan blocks just sitting around????
I trimmed around the block. I have to say, since I didn't piece the block, I wasn't as picky as to the edge measurements. Some may be, and that's okay, too!! You can add a little border so you don't cut off the points of the triangles on your block.
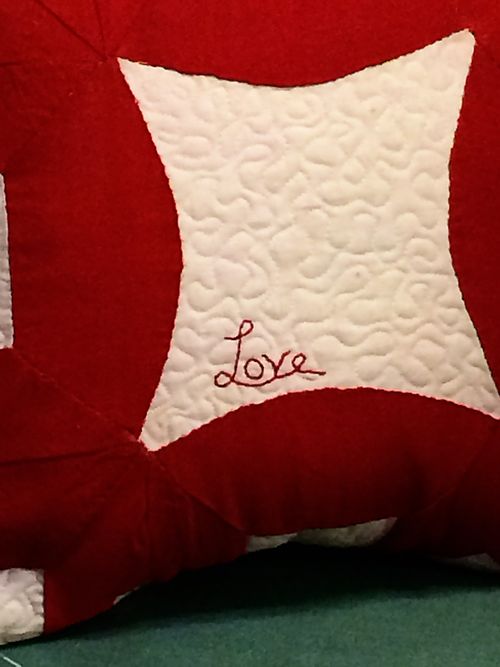
At this point you can embroider a word in the middle of your pillow top (or offset, like I did!!)…
I forgot to take pics of me embroidering because I did it in the recording studio while we were listening back to what we had just recorded three times!! Ohhh the joy of embroidery! 🙂
I embroidered the word love free hand. You can write your word first and then embroider it. You can print it from Word and then you'll want to trace it before you quilt your top (so you can see the paper you are tracing! LOL!!).
Then it's time to make your pillow back…
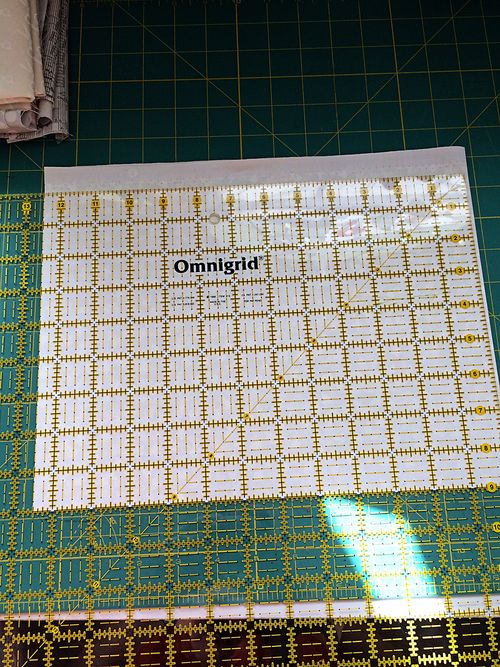
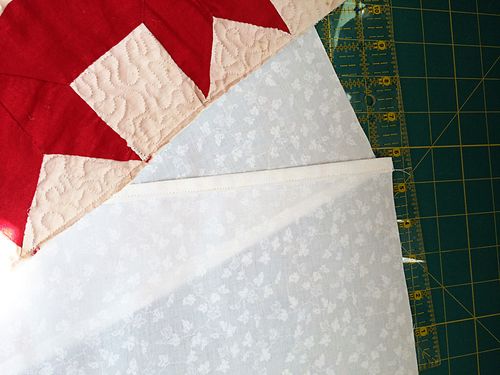
My block measured at 12.5"x12.5". To make my pillow backing, I cut two pieces of white Moda White on White fabric at 9"x 12.5".
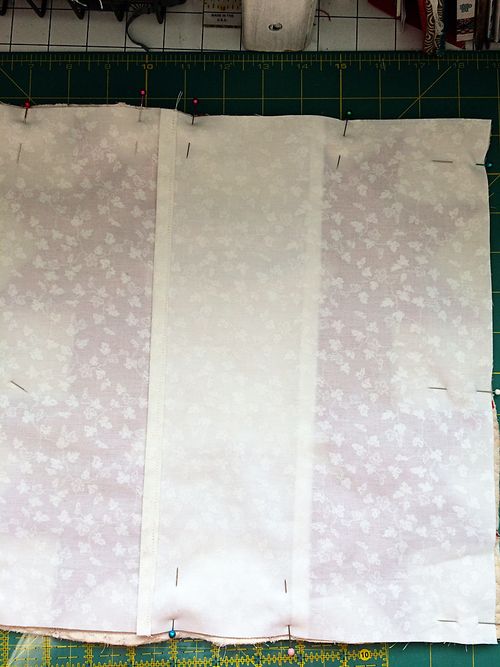
I sewed a double-fold hem on one long side on each piece. Then I placed them right sides together on the front of the quilt block and pinned…
I sewed around the whole pillow reinforcing (backstitching) over the folded hems on the top and bottom. I trimmed and turned it right side out.
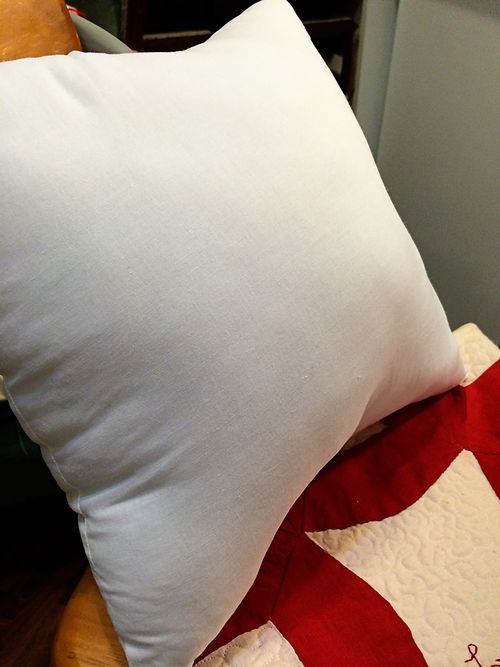
Then guess what? The pillow form I had was much bigger!! (I forgot the whole idea of measuring your pillow form first! LOL!!!)
So I made a new pillow to go inside…
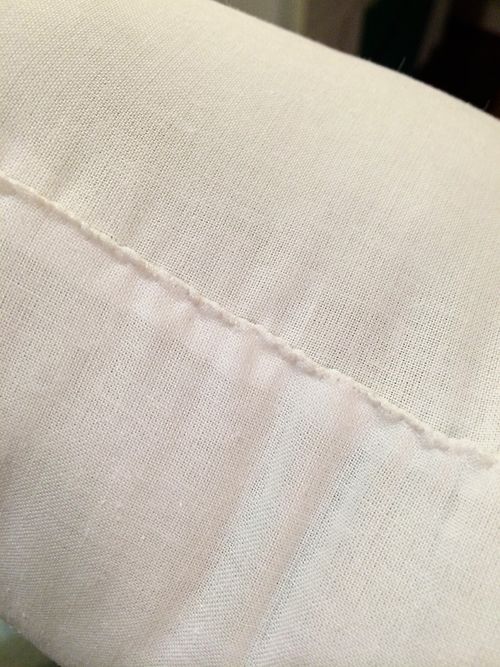
Sew two pieces 13×13 together using a 1/4" seam. Leave an opening to stuff it with polyfil…
Stuff and handsew the opening closed and Voila!!! A pillow!!!
This block just looks like LOVE to me!! There are so many options to embroider on there!
A few years ago, I made a slew of pillows and embroidered special phrases on them. Here are a few phrases you can embroider:
- "Whatever you are, be a good one" ~Abraham Lincoln
- "Mothers of little boys work from son up till son down"
- "Friends are sweet encouragements from God."
- "Live well, Laugh often, Love much."
- "5 out of 4 people have a problem with fractions!"
- "Good words, Good deeds, Do them all in the name of the Lord."
- "Happiness is…a home full of love that is blessed from above."
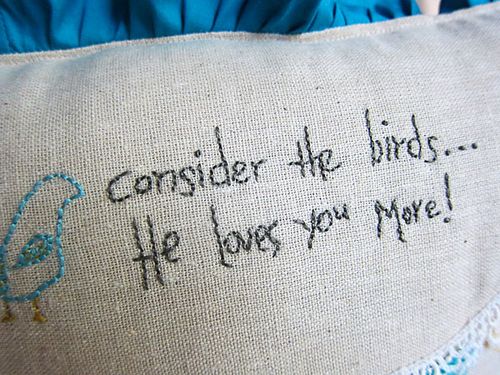
What do you want to see on a pillow? Or better yet, what does your loved one want to read? Special Christmas gifties from the heart!!!
Come back tomorrow for my Thursday post with the Christmas versions of these ideas!!
Also, speaking of Thursday, I'm super excited to be a part of this fun Sew Full of School Week this week on CraftyTammie's blog!! Thursday will be my day! Be sure and check out all of the fun tutorials and fun giveaways on Tammie's blog this week!!
Don't forget to comment to win!!!! yay!!!
Blessings!!
I'm linking up with Lee and her WIP wednesdays!! Because I have a million embroidery projects in the works right now!! ♥




You are amazing!
I like the idea of special cushions with quotations on them. x
How cute, I never think to add embroidery to my projects.
The embroidery is a special touch.