Happy Monday!!!!
Haven't these summer Mondays been so exciting? I love a fresh new week! Especially when your to-do list keeps growing! eeeeek!!
But it happily is getting done, too!
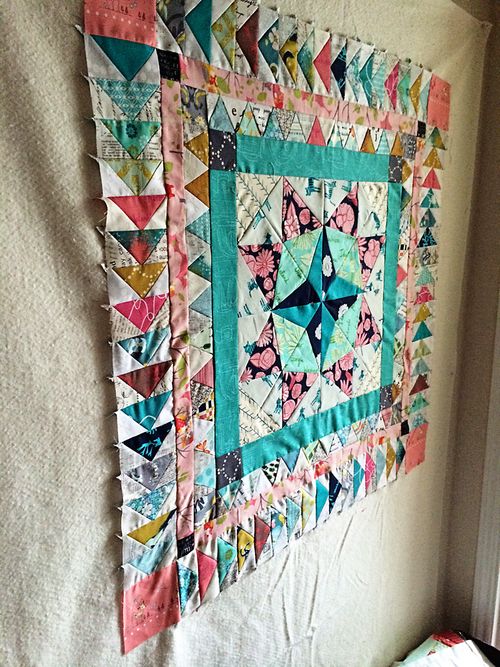
And today, I have some tips for this week's Marcelle Medallion installment!!
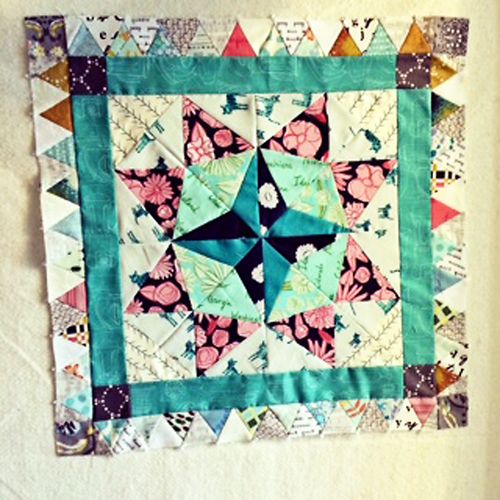
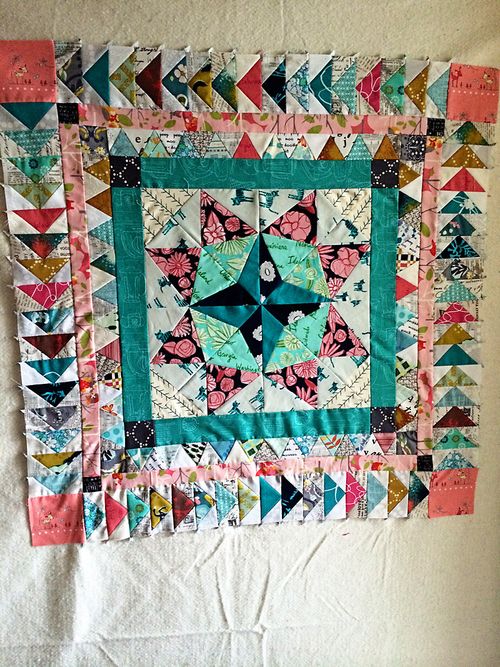
So you have your borders 1 and 2 on, right? This week, your task is border 3 and border 4!!
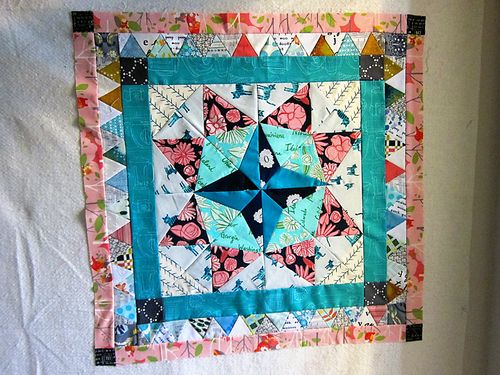
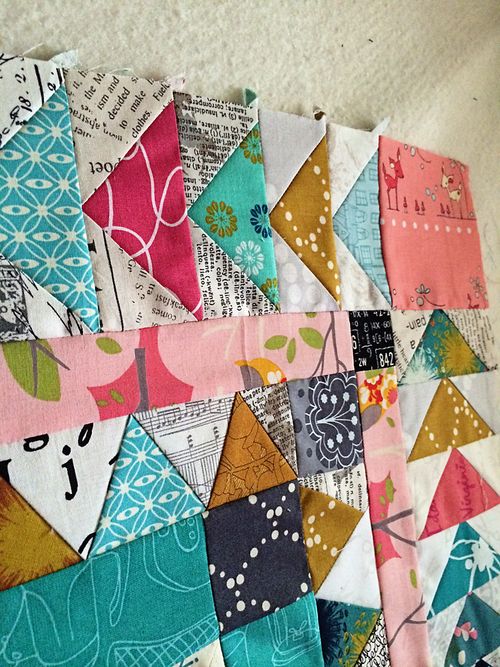
When choosing fabrics for my solid borders, I have been thinking how to make my pieced borders pop! So I chose this fun pink border for border 3! Love it!!! (and the little black Elementary squares for the end of the border!)
Border 4 is a bit trickier…(not really, but it is much more involved!)
Alexia's instructions have you make 64 flying geese! Thank God for chain piecing, right???
Her instructions are great and are probably faster than how I did it, but mine felt faster! You know how you take a different route somewhere that feels faster because traffic is actually moving? I guess you just have to live in Houston to get that…LOL!!!
I used this tutorial HERE and adjusted the size so that my geese ended up 3 7/8" x 2".
Here's how I did it (so you don't really have to look at the tute if you don't wanna!):
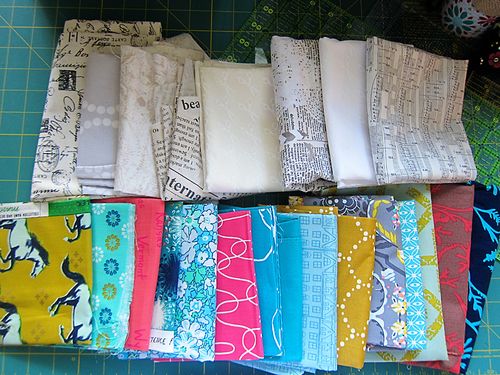
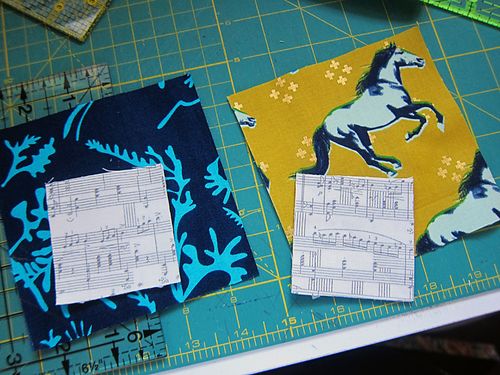
I picked 16 featured fabrics and 8 background fabrics:
I cut a big 4.75" square from my featured fabrics (so 16 squares total)
and cut 8 2.5" squares of each of my background fabrics…(64 total)
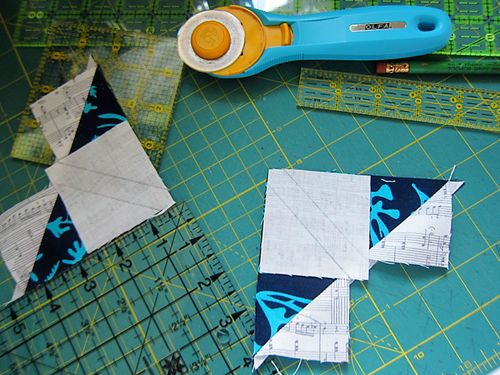
Place your little squares on your big square like so (above) and using a cool ruler, mark 1/4" on either side of the main diagonal line from corner to corner. You can just mark the middle line and sew on either side, but I like to sew on a line and not think while I'm sewing on my lines! LOL!! That way I can watch tv while sewing mindlessly!!
Cut in between the two seams creating two pieces…
Press the trianges out and place your last two squares just so (above) and mark the lines again and sew, cut and press! You will have 4 flying geese just the right size when you are done! Do that 16 times, and you'll have 64 flying geese!! It only took me one evening to finish off my borders…
Another tip from me…
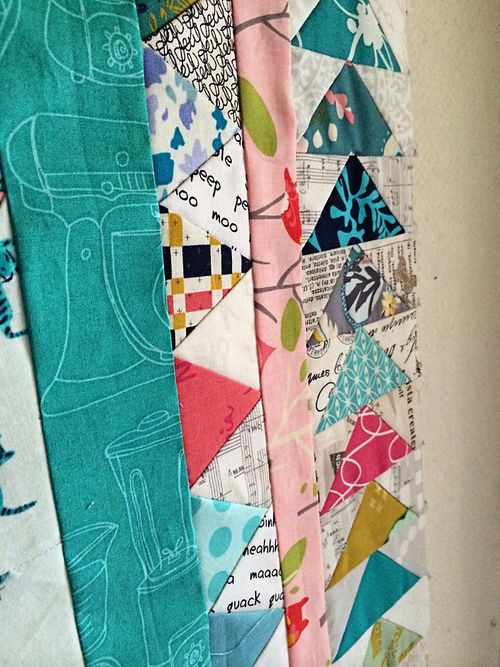
When you are attaching the strip of geese that you've sewn together, you can adjust your seam allowance to make your strip fit exactly on the edge of your quilt. After you do two opposite sides, when attaching the corner squares, attach one square and then sew down the side until you get about 4 flying geese away from the bottom and then attach the bottom square exactly where that seam needs to be.
For some reason my pic makes it look a little whomperjayed, but it's pretty even. I'm super happy with the way it turned out and how I didn't have to use my seam ripper as much as usual! I erred on the side of too long (smaller seam allowance to begin with, so easier to adjust as I sewed!).
**I will also say, if you want your geese to have perfect points (I still believe only Jesus is perfect, just sayin'…), I'd stick to Alexia's instructions in the book for the geese…and sew slow! (I'm a race car driver sometimes on the machine! just ask my guild!! eeeeek!!)
I'm super happy with the way it is turning out!!! Let us know your progress this week, too!!!
Be sure to post in our FLICKR group and our FB page!!
Blessings!

