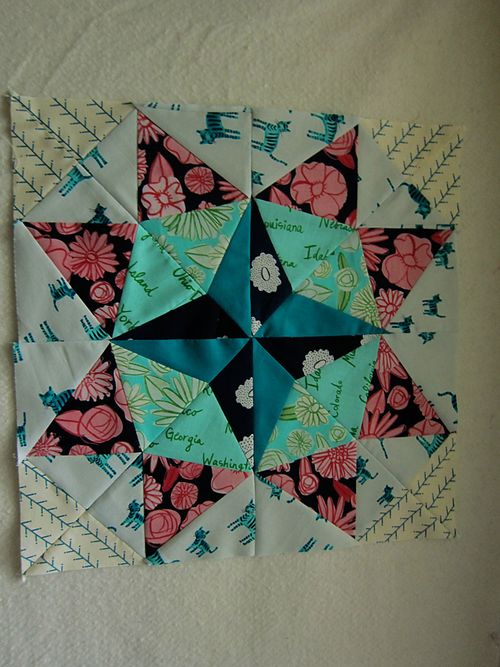
Hi everyone!!! Have you finished up your middle medallion yet???
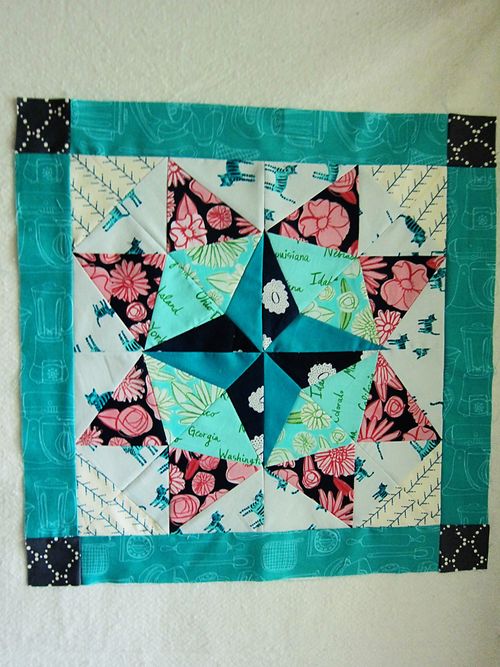
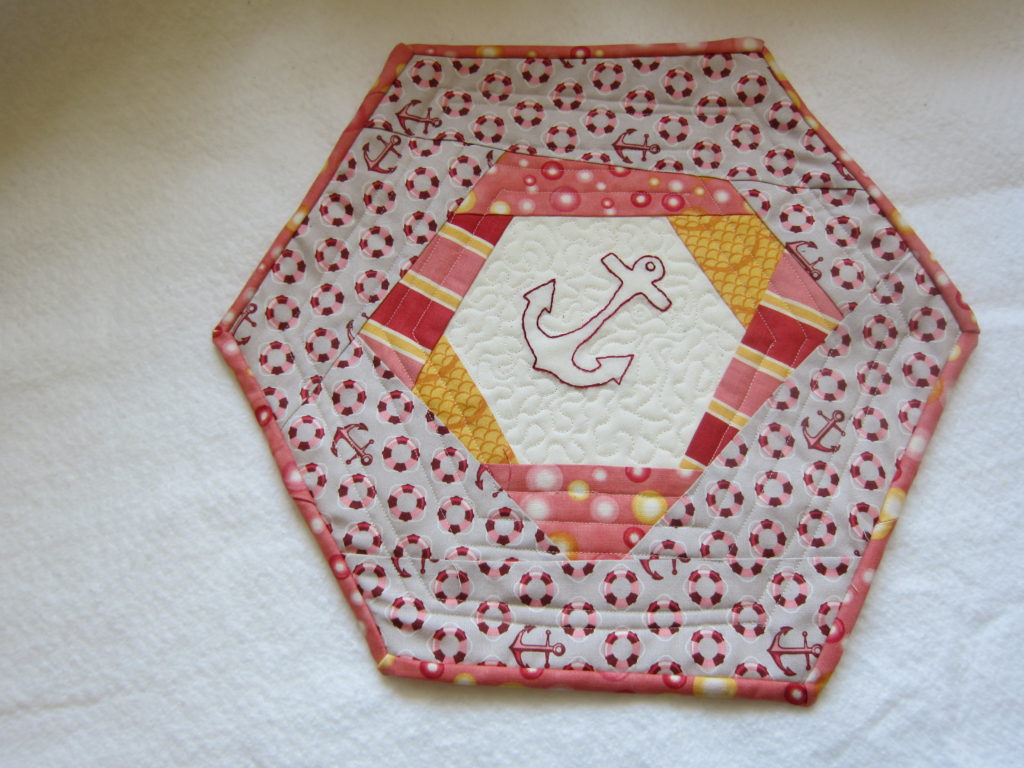
Here's mine before this week's assignment!
So it's on to the borders…Border 1 and Border 2!!
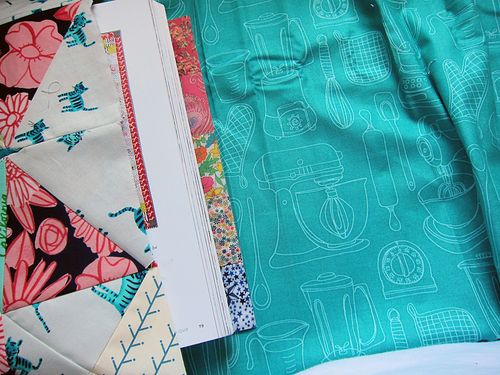
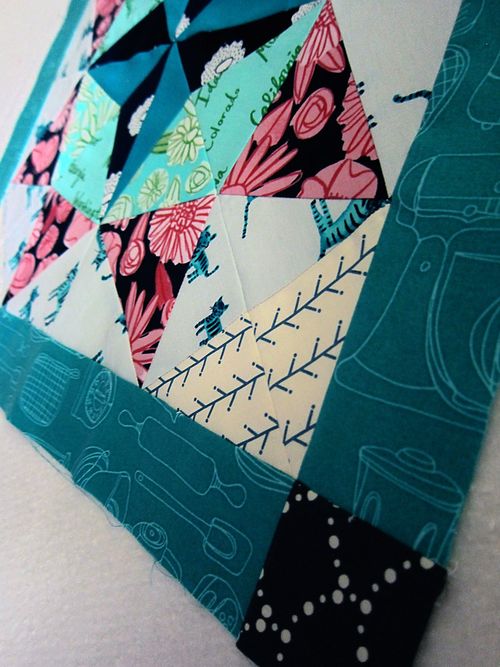
I chose this fabric to use for Border 1…
Cute cute kitchy fabric!! 🙂
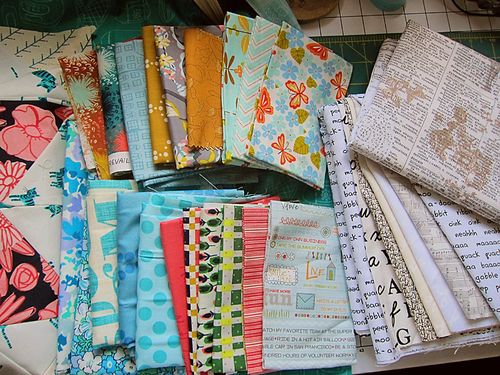
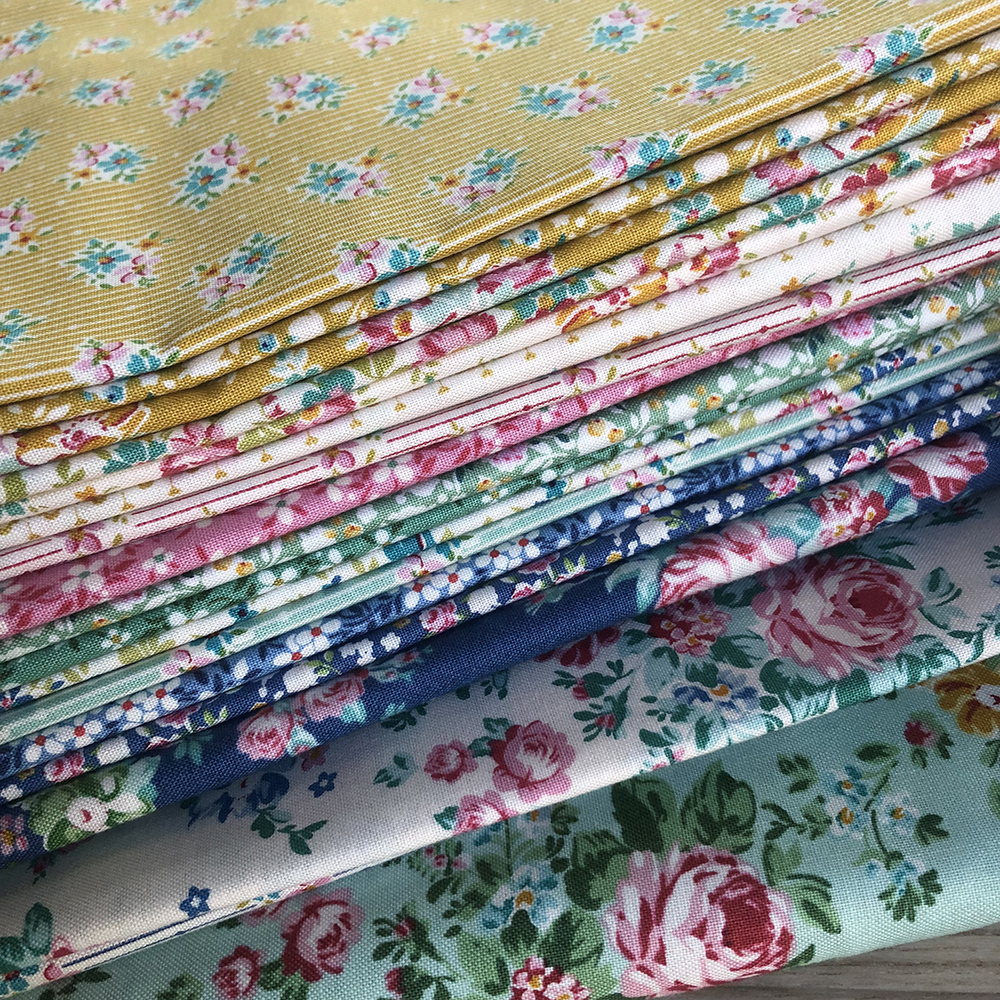
For Border 2, I chose 20 fabrics out of which I'll cut 40 triangles…
They are an eclectic mix!!!
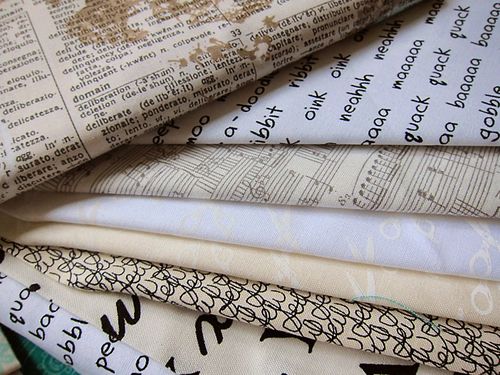
And then the low-volume fabrics on the right are the setting triangle fabrics.
Aren't they yummmy!!! I got them while quilt-shop-hopping in Dallas this weekend!
So, let me let you in on a few things to help with your border piecing this week:
First of all, your seam ripper is your best friend! It does not mean you have failed if you use it. Keep remembering this! An artist's greatest tool is his eraser!!!
When piecing the 2.5" squares on your border 1 strips, measure like a crazy person (5xs!!!) and use the 1/4" seam that gives you the most accurate 1/4" seam! (I set my stitch width setting to 3.8…that's how much my needle needs to move over to the right to get my not-too-big 1/4" seam!)
Sew your borders on slowly…
Not perfect, but perfect enough for me!! And I am LOVING the color scheme!!
I also found that I was pulling the medallion sides as I sewed the strips on there and causing the bias to stretch. Go ahead and use a bunch of pins! It's fine!! Mindful sewing is awesome!!!
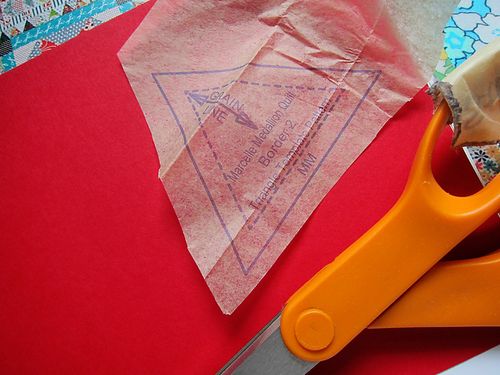
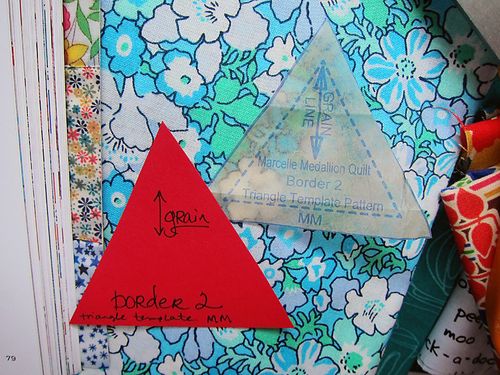
When cutting out your pattern pieces for Border 2, made a template to make cutting easier…
I used heavy cardstock.
And marked my template, too!
I'm excited to get this put together later this week!!! And I'll share on our FLICKR group and our FB page!! yay!!
Can't wait to see how you are doing, too!!!
Blessings!!!

